Selling a home is both exciting and emotional — and preparation makes all the difference. Over the years, I’ve helped many homeowners across Southeast Michigan prepare their homes to sell quickly, smoothly, and for the strongest possible outcome. The goal isn’t perfection — it’s presenting your home in a way that allows buyers to clearly envision its potential and value.
This checklist outlines the same process I walk my own clients through before launching a listing.
Step 1: Start With a Strategic Walkthrough
Before any cleaning or repairs begin, I always walk through the home with sellers and identify:
- First impressions and curb appeal
- Lighting and room flow
- Obvious maintenance items
- Opportunities for simple upgrades
- Furniture placement and spacing
This helps prioritize where time and budget will make the biggest impact.
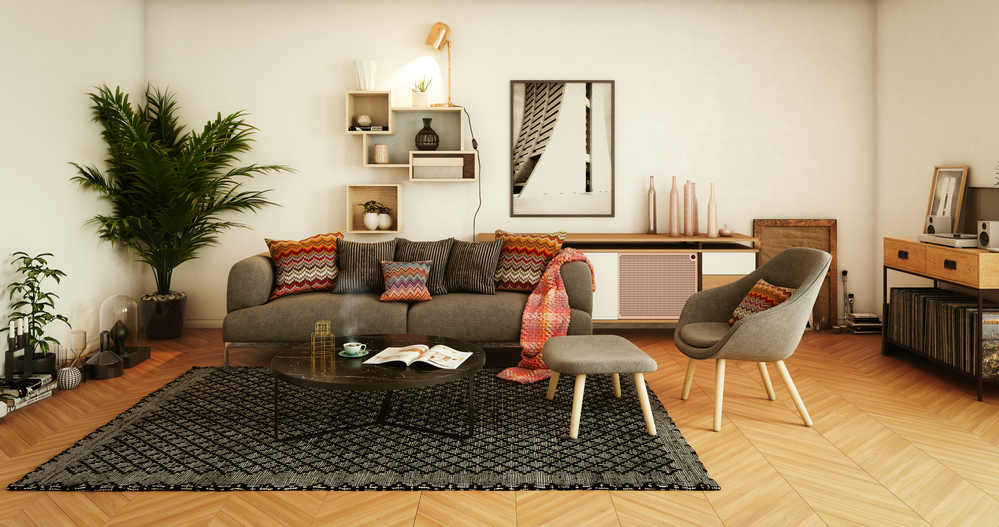
Digitally generated warm and cozy affordable Scandinavian style home interior (living room) design.
The scene was rendered with photorealistic shaders and lighting in Autodesk® 3ds Max 2016 with V-Ray 3.6 with some post-production added.
Step 2: Declutter and Depersonalize
Clutter makes rooms feel smaller and distracts buyers from the home itself. I encourage sellers to pack away excess items early, including:
- Extra furniture
- Personal photos and collections
- Overflow kitchen and closet items
- Seasonal décor
This step also makes moving easier later.
Step 3: Focus on High-Impact Cleaning
A deep clean sets the tone for showings and photography. I often recommend focusing on:
- Floors, baseboards, and trim
- Windows and mirrors
- Kitchens and bathrooms
- Light fixtures and ceiling fans
- Entryways and closets
Professional cleaning can be a worthwhile investment before listing.
Step 4: Address Minor Repairs and Touch-Ups
Small issues can create unnecessary buyer hesitation. I typically recommend handling:
- Leaky faucets or running toilets
- Loose handles or hardware
- Burned-out bulbs
- Paint touch-ups
- Squeaky doors and sticky locks
These quick fixes improve perceived condition without major expense.
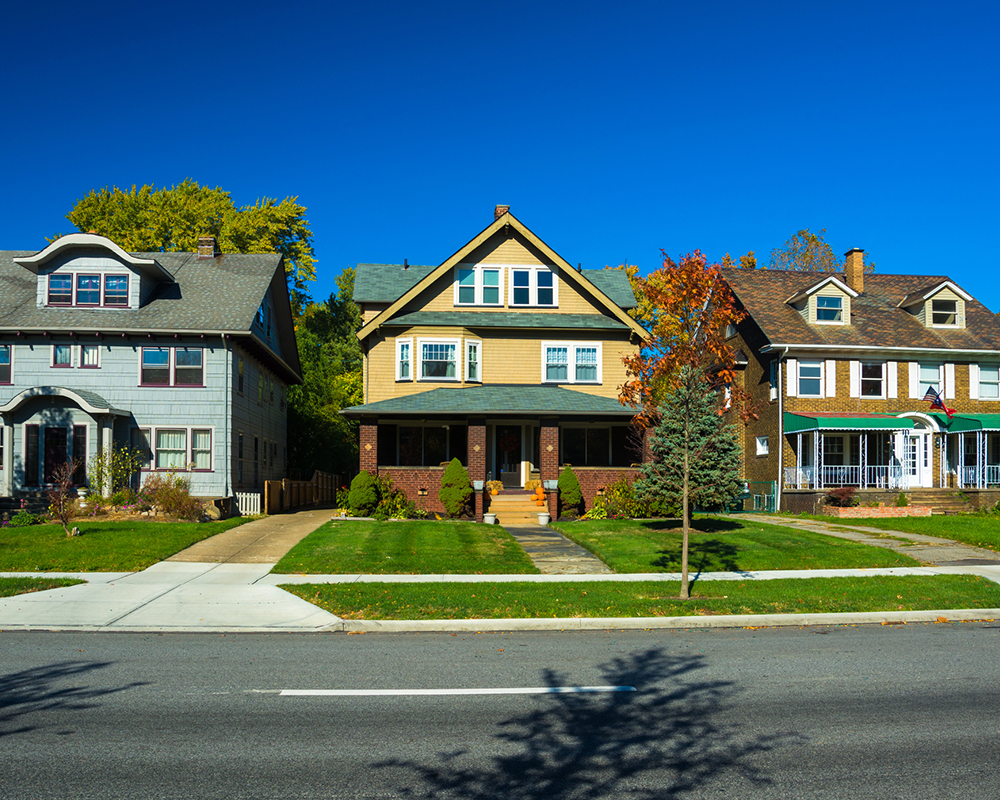
Step 5: Refresh Curb Appeal
First impressions start before a buyer ever walks inside. Depending on the season, I often suggest:
- Power washing walkways and siding
- Fresh mulch or simple landscaping
- Cleaning gutters and downspouts
- Repainting the front door if needed
- Adding simple planters or lighting
Even modest improvements can dramatically elevate curb appeal.
Step 6: Stage for Space and Flow
Staging doesn’t always require new furniture. Often it means editing what’s already there to highlight room size, natural light, and traffic flow. I guide sellers on:
- Furniture placement
- Removing bulky or excess pieces
- Highlighting focal points
- Creating inviting seating areas
The goal is helping buyers mentally move in.
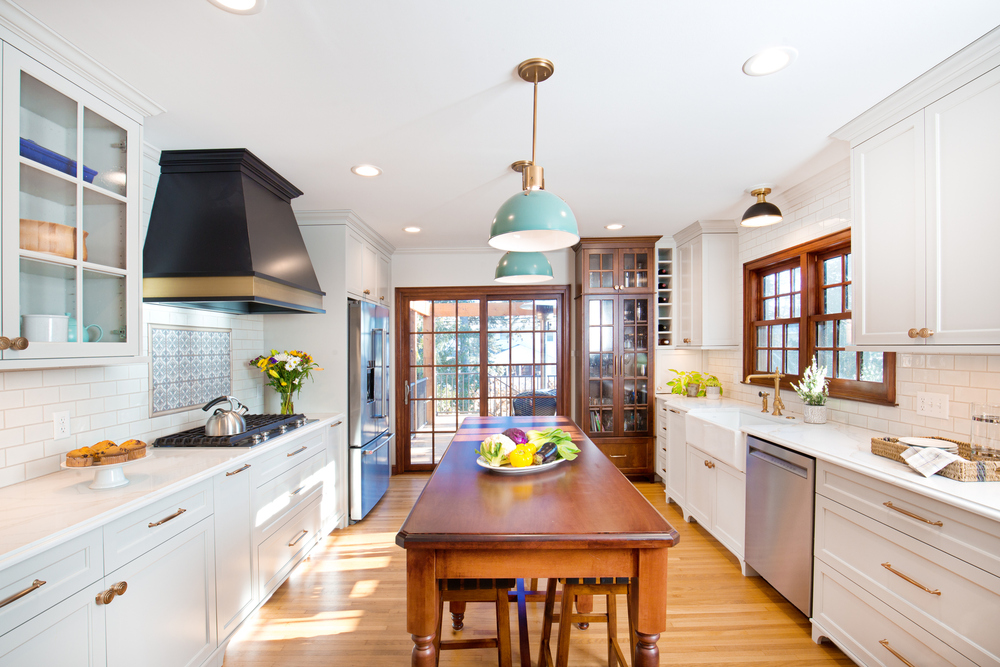
A contemporary classic renovation remodeling kitchen interior design in a modern residential home.
Step 7: Prepare for Photography and Marketing
Professional photography and marketing materials showcase your home online — where most buyers first encounter it. I help coordinate:
- Final cleaning touch-ups
- Window treatments and lighting adjustments
- Seasonal styling
- Exterior photo timing
- Property access logistics
Strong visuals drive showing activity and buyer interest.
Step 8: Plan for Showings and Flexibility
Once live, flexibility helps maximize exposure. I work with sellers to create a showing plan that balances convenience with accessibility so we don’t miss strong buyer opportunities.
Why Preparation Pays Off
Well-prepared homes typically sell faster, generate stronger interest, and experience smoother negotiations. Strategic preparation reduces stress and creates confidence for both sellers and buyers.
FAQs
Do I need to fully stage my home?
Not always. Many homes benefit from light staging or strategic furniture editing.
Should I complete major renovations before selling?
Often, smaller cosmetic updates deliver better return than large remodels. I help clients evaluate what makes sense for their specific home.